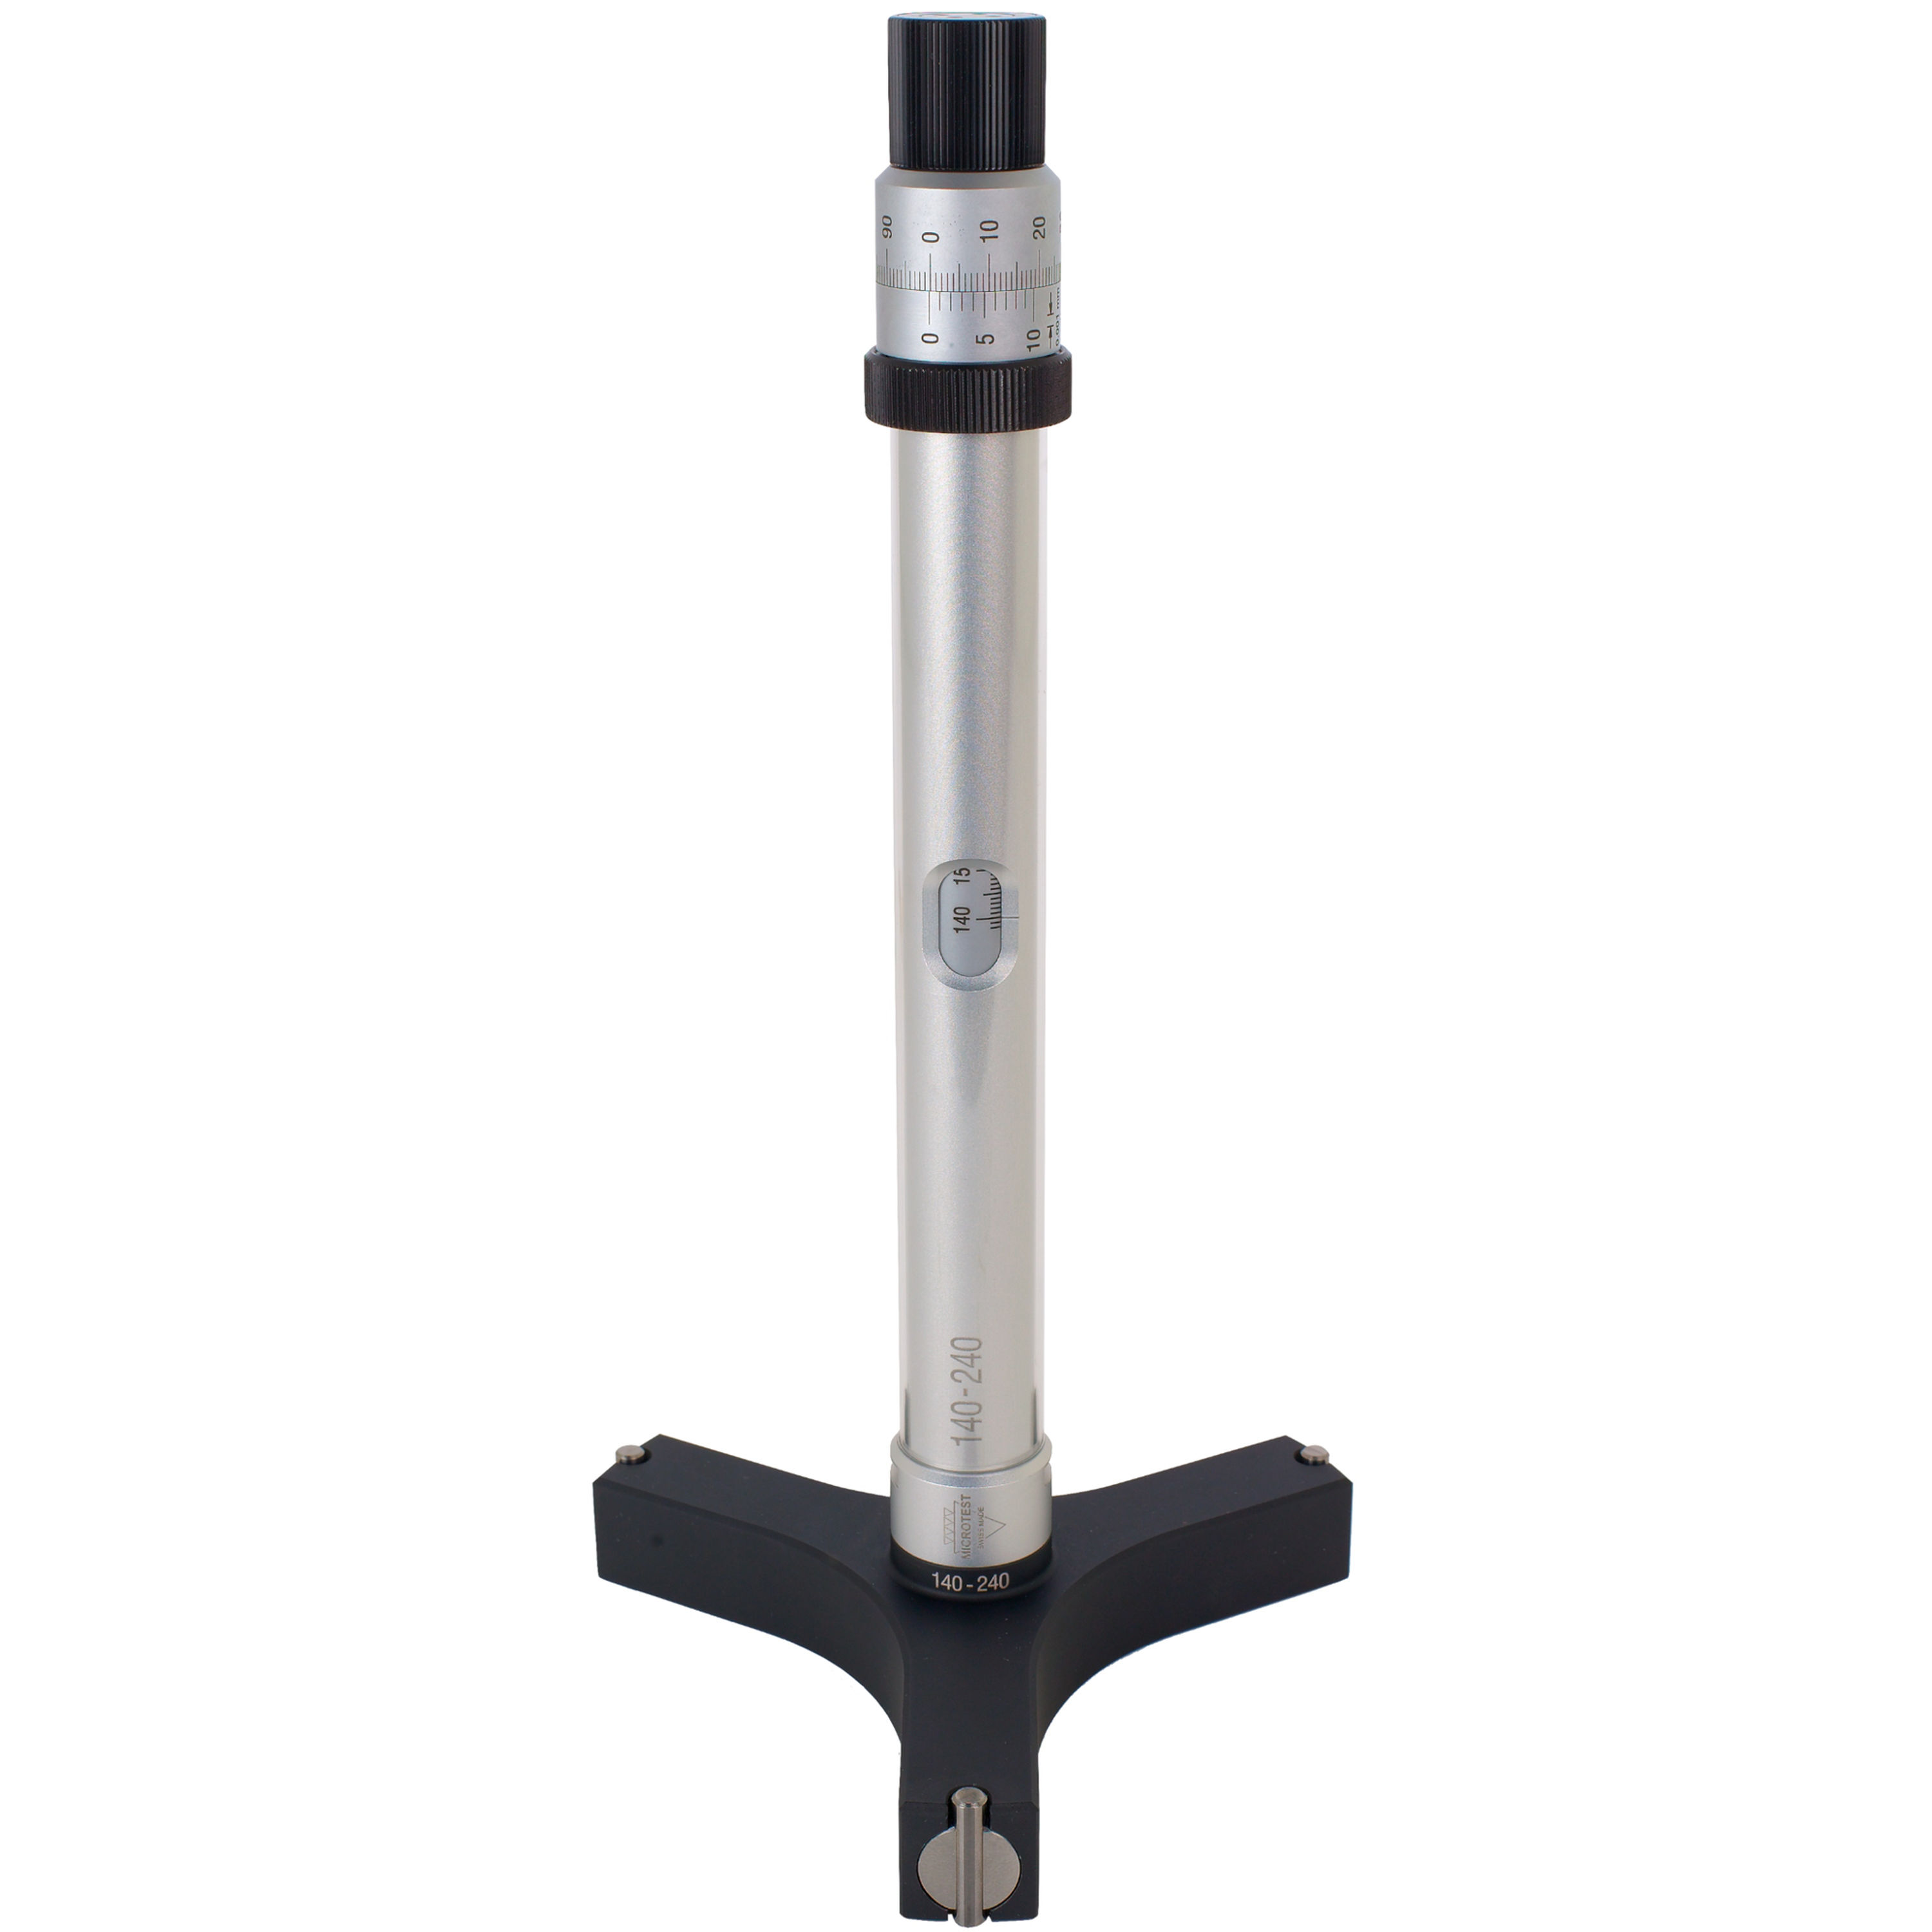
Item number: IM2005
Measuring range: Ø 140-240mm
Linearity: ± 3 μm, repeatability max. ± 1,5 μm.


Clearer scale engravings - excellent reading.
1 um full direct reading, Parallaxfree.
1 revolution = 1 mm, clear display of 1 mm,
0.01 (100 divisions / U), 0.001 (vernier) no reading errors, no count.


Automatic self-centering for safe and easy handling. Blind-hole measurement to the bottom, even for deep holes.
Optimized extensions - reinforced pipes, automatic clutch.
Extendable up to 10 meters without loss of accuracy (up to 15 m possible).


Thermal protected and compensated design.
Automatic, linear wear correction by simple adjustment.
Cost reduction through multiple times the measuring range.
Savings in calibration and certification costs (recurrent costs are much lower).


Titanium coated housing - even after years only a few wear occur.
Internal-Micrometer Analog 140-240mm
All of our internal micrometers are delivered in a matching case with a factory certificate, user manual and screwdriver for the nonius ring.


